

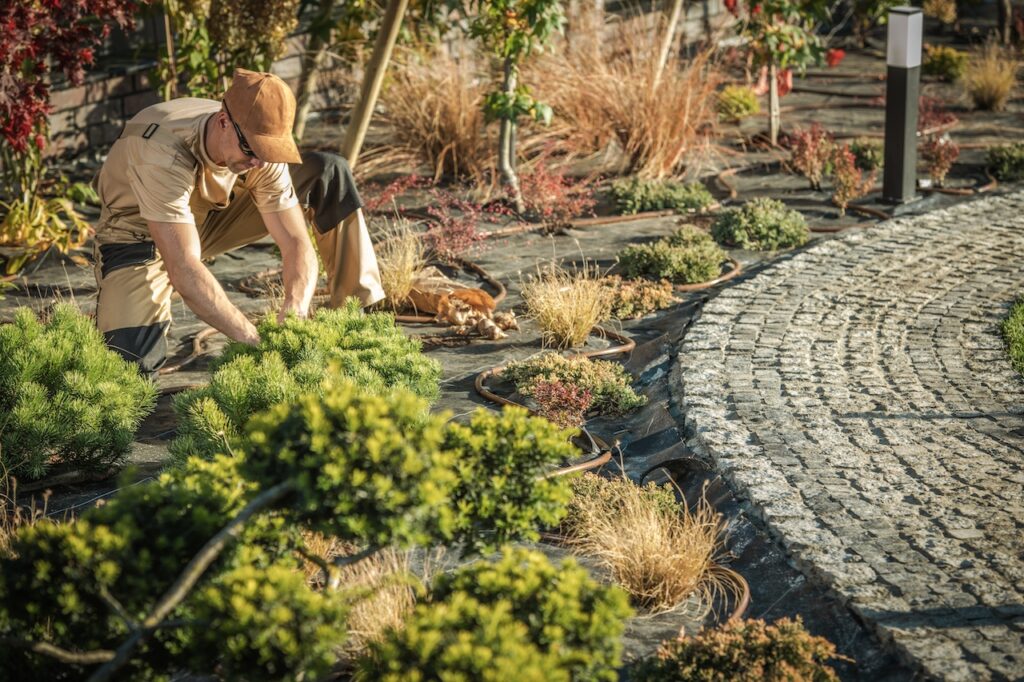
Looking to enhance the beauty of your garden while adding functionality? A simple stone pathway is the perfect solution. Not only does it lend a timeless charm to your outdoor space, but it also creates a better flow for movement and defines various areas in your garden. The best part? You don’t need professional hardscaping services to create one!
Here’s a step-by-step guide to help you build a gorgeous stone pathway for your garden.
Why Add a Stone Pathway to Your Garden?
A well-planned stone pathway can transform your garden in several ways:
- Aesthetics: Stone pathways introduce a natural and elegant look to your garden, complementing plants and greenery.
- Functionality: They create clear and sturdy walkways, preventing damage to grass and fragile plant beds.
- Low Maintenance: Unlike other materials, stone pathways are long-lasting and require minimal maintenance over time.
- Customization: Stones come in a variety of shapes, sizes, and colors, letting you design a pathway that fits your garden’s unique style.
Materials and Tools You’ll Need
Before you start, gather the following materials and tools:
- Materials
- Stone slabs or pavers (natural stone, flagstone, slate, etc.)
- Crushed gravel or crushed stone
- Sand (for leveling)
- Landscape fabric
- Tools
- Shovel
- Rake
- Rubber mallet
- Level
- Garden hose or spray paint for marking
- Wheelbarrow
Step-by-Step Guide to Building a Stone Pathway
Step 1: Plan Your Pathway
Begin by deciding where you want the pathway to go. Think about the flow and functionality of your garden. Will it connect your deck to your garden? Guide guests to a hidden nook or seating area?
Once you’ve settled on the location, use a garden hose or spray paint to outline the path. Keep in mind the width of the path; it should be wide enough for comfortable walking, typically 2-3 feet.
Step 2: Prepare the Ground
Clear the marked pathway by removing grass, weeds, and any debris. Dig the path about 4-5 inches deep to create space for the foundation materials.
To prevent weed growth and improve durability, lay a sheet of landscape fabric over the dug-up area. The fabric will allow water to drain while keeping your pathway looking clean.
Step 3: Create a Base Layer
Add a 2-3 inch layer of crushed gravel to the pathway base. This foundation will help absorb water and keep the stones stable. Spread the gravel evenly and compact it using a rake. To ensure your pathway is level, use a level tool as you go.
Step 4: Add Sand for Leveling
On top of the gravel, add a 1-inch layer of sand. Spread it evenly and smooth it out with your rake. The sand will create a level and firm base for your stone slabs to sit on.
Step 5: Lay the Stones
Now for the creative part! Arrange the stone slabs or pavers along the path. Start at one end and work your way across. Experiment with different placements until you find a layout you love. You can opt for a tight pattern or leave space between stones for a more organic look.
Use a rubber mallet to gently press each stone into the sand base, ensuring they sit level and are firmly in place. Check your level frequently as you go.
Enjoy Your New Pathway
Creating a stone pathway is a fantastic way to elevate your garden design while adding a useful feature to your space. Whether you’re guiding visitors to a specific area or simply giving your plants room to shine, the pathway will serve as both a practical and beautiful addition.




More Stories
Trading the Restaurant for the Waves: Why You Should Host Your Next Birthday on the Water
How Do I Get United Airlines Vacation Packages?
How Do I Change My Name on Breeze Airways?