
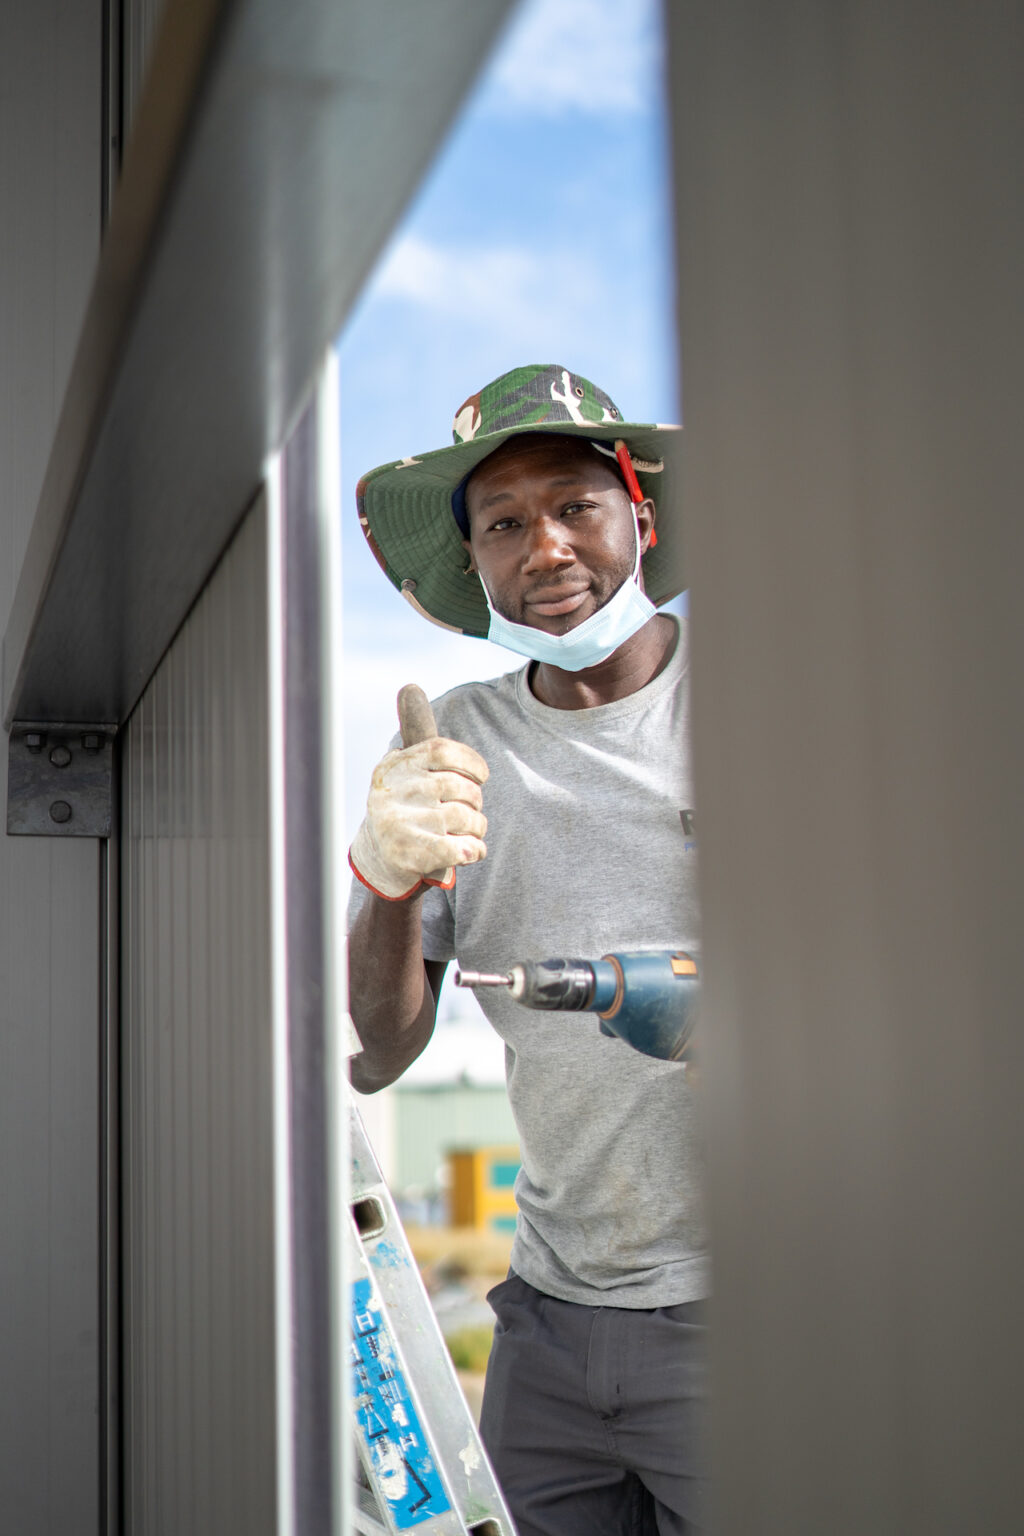
A custom shed can be a game-changer for your property. Whether you need extra storage, a dedicated workspace, or simply a stylish addition to your backyard, planning a custom shed allows you to create a space tailored to your exact needs. But where do you start? Here’s a step-by-step guide to help you design the perfect shed for your property.
Step 1: Determine the Function of Your Shed
The first step in planning your custom shed is understanding its purpose. Will it be for storing tools and garden equipment? A workshop or a home office? Maybe even a cozy getaway or art studio? Defining your shed’s primary purpose will influence its size, layout, and features.
Consider:
- Storage Needs: Do you need space for bulky equipment or smaller items?
- Workspace Requirements: Will you need lighting, insulation, or ventilation?
- Aesthetic Features: Do you want it to complement the look of your home?
Step 2: Choose the Right Location
Selecting the right spot in your yard is crucial. A convenient and accessible location can impact how much use you get out of your shed.
Keep these factors in mind:
- Proximity to Your Home: A shed near your house can be more easily accessed, especially in bad weather.
- Sunlight and Shade: If the shed will be used as a workspace, consider how much natural light enters the spot you’re choosing.
- Ground Conditions: Ensure the ground is level and has proper drainage to avoid structural or flooding issues.
Step 3: Decide on the Size and Layout
The size of your shed is another vital consideration. A storage shed may need less space than a multi-purpose workspace or mini guest house.
- Start Small if it’s for limited storage or a compact garden.
- Go Big if it’s for storing large equipment, creating a workshop, or facilitating multiple uses.
- Think Vertical Storage if your yard space is limited.
Sketch out a layout to visualize where shelves, countertops, or other storage areas will fit.
Step 4: Pick a Design That Suits Your Property
Your shed doesn’t have to look like an afterthought. With custom designs, it can add style and value to your property.
- Match Your Home’s Aesthetic: Choose colors and materials that complement your house.
- Roof Style: Gable, flat, or lean-to roofs can all give a different look.
- Finish with Details: Add windows, decorative trim, or shutters to make the shed stand out.
Step 5: Select the Right Materials
The materials you choose will affect the durability and appearance of your custom shed.
- Wood gives a classic, natural look but requires maintenance.
- Metal is durable and low-maintenance but can heat up in warmer climates.
- Vinyl is weather-resistant and offers a diverse range of colors and designs.
Choose materials that stand up to your local weather conditions while fitting your personal taste.
Step 6: Include Functional Features
A custom shed offers more than just storage. Think about additional functional features that suit your needs:
- Insulation for year-round usability.
- Electricity for lighting, power tools, or heating.
- Shelving and Hooks to maximize storage opportunities.
- Windows or Skylights for natural light.
- Security features like locks and sturdy doors to keep your belongings safe.
Step 7: Plan Your Budget
It’s easy to get carried away with custom features, so set a realistic budget. Account for:
- Building materials
- Labor costs (if hiring professionals)
- Permits or zoning fees
- Extras like electricity or plumbing (if needed)
Having a clear budget will help you prioritize features without breaking the bank.
Conclusion
Creating the perfect custom shed takes a little planning, but the results are worth it. By following these steps, you’ll have a shed that meets all your needs while enhancing your property. Remember to consider function, design, and budget when making decisions. Happy building!


More Stories
Why Public Safety Education Matters Year-Round
Why Hot Tub Dealers Buffalo NY Recommend Insulated Models
Why Healthcare Explainer Videos USA Are Essential for Modern Medical Communication